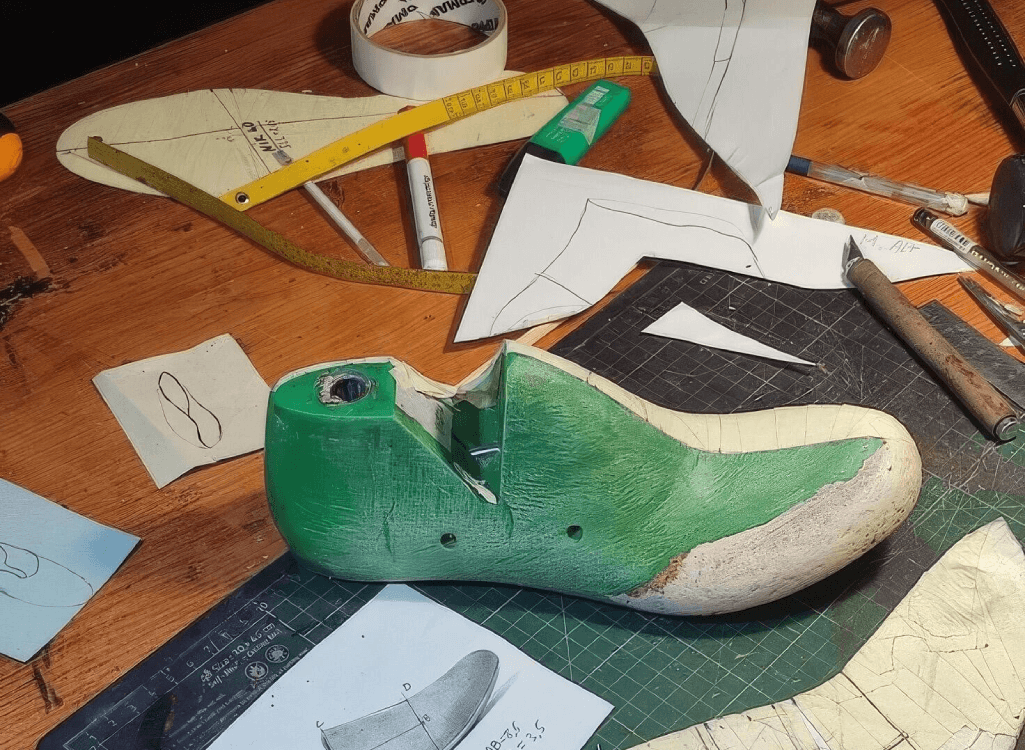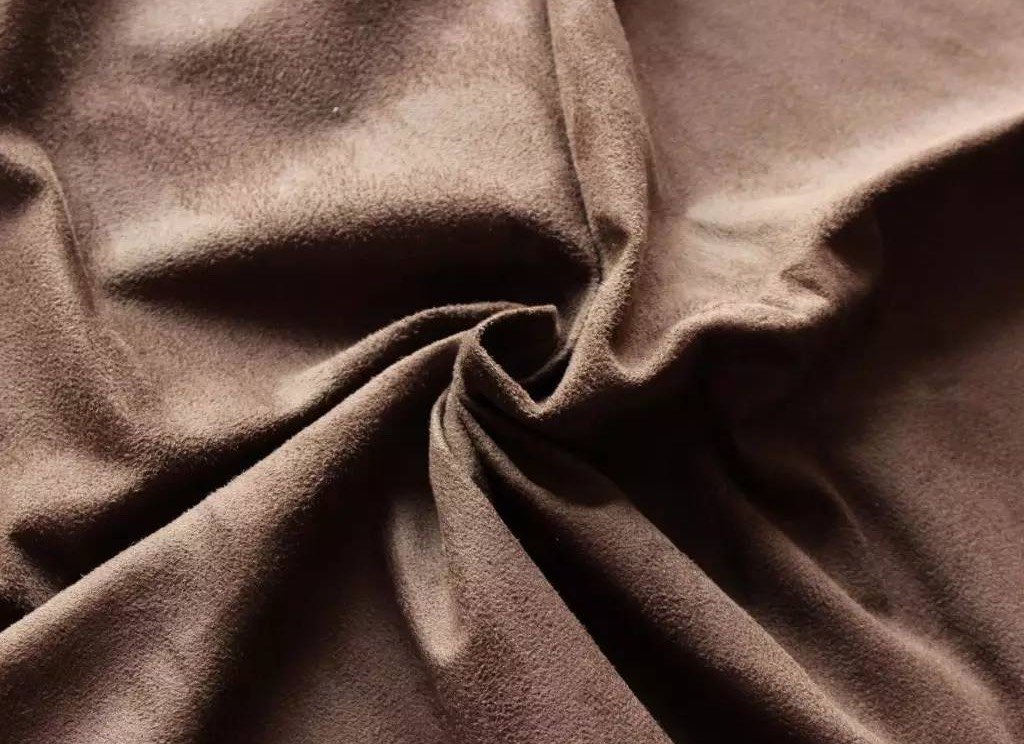



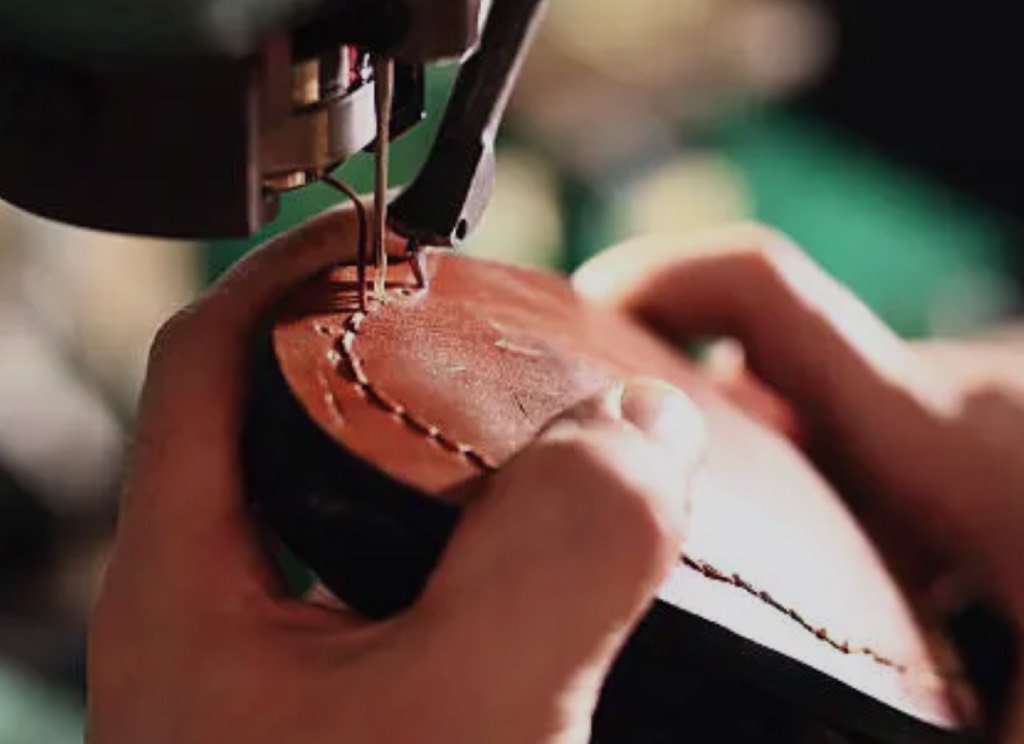
As footwear manufacturing technology advances and market demands evolve, men’s and women’s shoe production has become more refined and efficient. Unlike outdated mass-production models, modern shoemaking prioritizes structural optimization, premium material selection and standardized workflows to strike the perfect balance of comfort, durability and aesthetics.
Professional manufacturers focus tight oversight on core production phases, including last development, material matching and shoe molding. Standardized manufacturing procedures paired with rigorous quality control effectively eliminate common defects such as sole delamination, shoe deformation and poor fit, ensuring consistent quality across bulk orders.
Per EU CITEPA statistics, cement construction is the dominant production technique in the global footwear industry, surpassing vulcanization and injection molding. Over 80% of men’s and women’s footwear — business dress shoes, casual sneakers, office footwear and work safety shoes — are manufactured via cementing technology. This article will break down the full cement footwear production process step by step, from raw material cutting to finished goods delivery from the factory.
Overview of the Manufacturing Process
Understanding shoe production workflows helps partners assess product quality, select reliable suppliers and boost procurement stability. Below is a concise breakdown of core shoemaking stages for quick reference.
| Step | Stage | Description |
| 1 | Concept & Design | Turn creative concepts into detailed design drawings covering style, functionality and production feasibility. |
| 2 | Pattern Making | Develop patterns for shoe component sizes and silhouettes to comply with design and manufacturing standards. |
| 3 | Cutting | Precisely cut upper and lining materials by standard patterns to maximize material utilization and unify component sizing. |
| 4 | Stitching | Separate components are assembled into a complete shoe upper with necessary reinforcement and edge finishing at this stage. |
| 5 | Lasting: 3 phase | The upper is firmly bonded to the outsole via lasting, glue coating, outsole attachment, pressing and thermal activation to form the final shoe shape, followed by finishing treatment of finished goods. |
| 6 | Quality Control | Carry out finished product inspection covering appearance check, structural durability, bonding fastness and size standard compliance. |
| 7 | Packaging & Shipping | Finished shoes are cleaned, sorted and packed, labelled, then prepared for logistics delivery. |
Stage 1: Concept & Design
Every shoe production project starts with a practical design that balances creativity and functionality. This phase aligns market trends, target consumer groups, product positioning and factory production capacity. Design teams prioritize upper comfort, structural rationality and mass manufacturability, systematically planning upper layouts, material mixes and accessory details. Creative concepts are converted into viable blueprints, laying clear, actionable technical foundations for pattern making and mass production downstream.
- Market trend & consumer demand analysis: Identify mainstream shoe silhouettes, optimize functions and components to match buyer preferences, and lock in product styling and price brackets aligned with brand positioning to form feasible design schemes.
- Collaborative design communication: The R&D team cooperates with developers and clients to refine structures and details, ensuring all designs are manufacturable and compliant with production standards.
- Draft sketches: CAD and Adobe Illustrator are used to draw technical spec sheets with detailed structures, dimensions and process requirements, serving as the base for pattern cutting and manufacturing.
- Design standardization: Comprehensive review and validation of design plans to verify compliance with production and market demands in structure, performance and cost. This step drastically reduces potential manufacturing defects.
Stage 2: Pattern Making
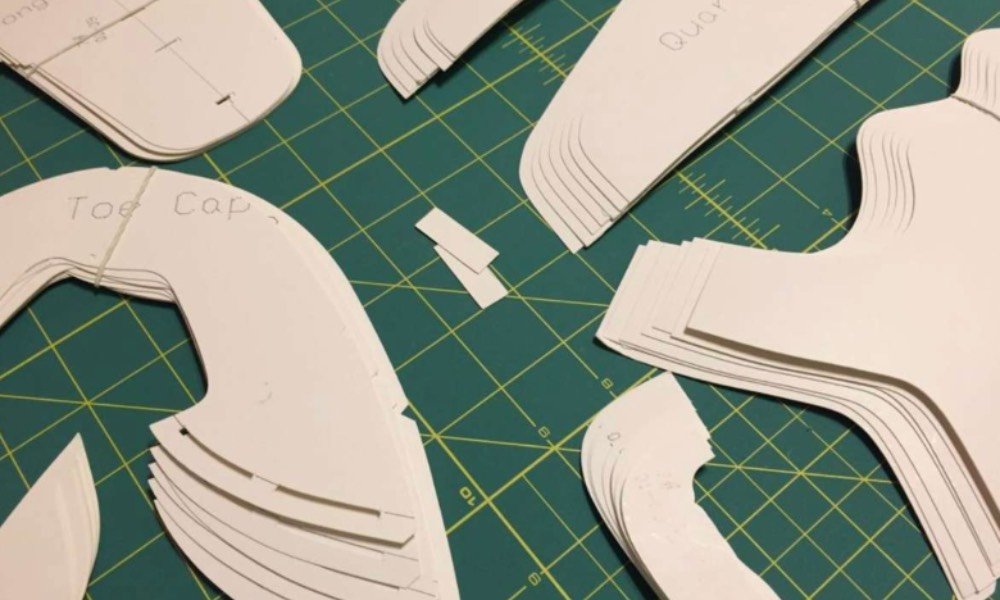
Pattern making converts design concepts into precise templates for individual shoe components according to design sketches. These patterns guide cutting and assembly to guarantee consistency and precision during mass production.
- Pattern drafting: Accurate templates for lasts and footwear components are created based on shoe sketches, either hand-drawn or digitally designed via CAD software.
- Material trial testing: Selected upper, lining and outsole materials undergo trial cutting to adjust cutting precision and component alignment in advance.
- Pattern standardization: Finalized patterns act as universal production standards, ensuring uniform sizing, structure and appearance across all finished shoes.
Stage 3: Cutting
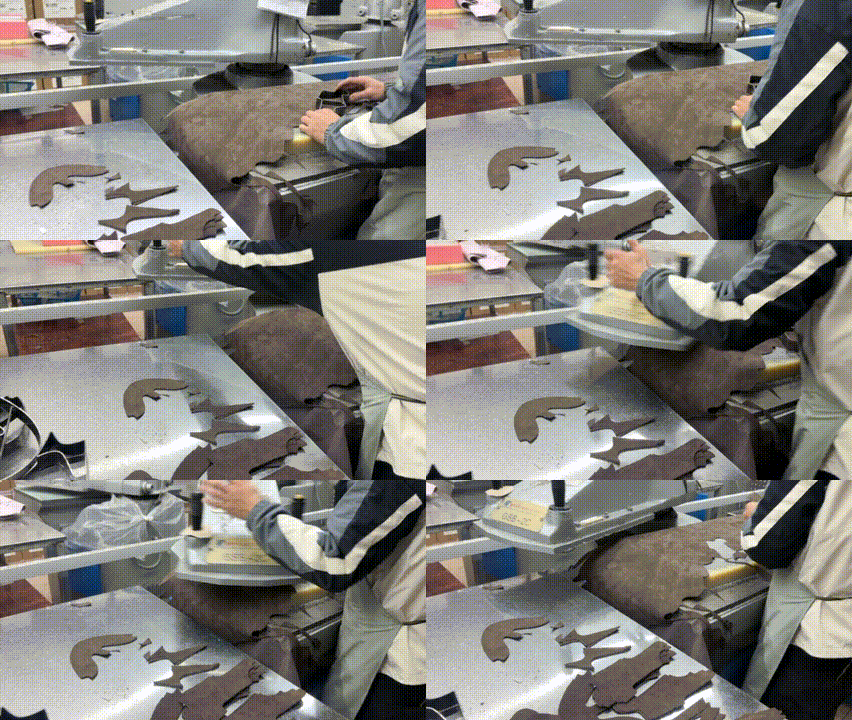
Materials for uppers, linings and auxiliary parts are precisely cut following patterns to guarantee accurate sizing, neat edges, high material utilization and batch consistency.
- Material selection: Raw materials including leather, fabric and foam are chosen based on footwear durability, comfort and flexibility requirements.
- Material cutting: Selected upper, lining and outsole materials are cut manually or by hydraulic cutting machines with cutting dies.
Stage 4: Stitching
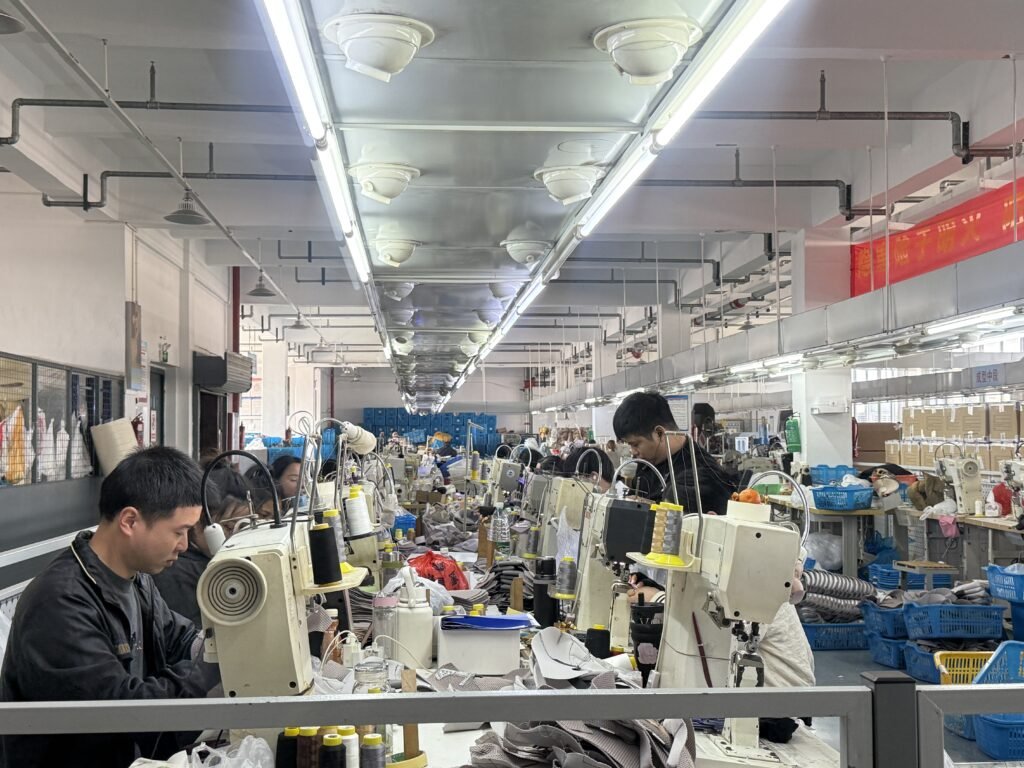
Stitching is the core step to shape shoe uppers, where all upper components are sewn together by industrial sewing machines.
- Component assembly: Trim edges and fit parts first before sewing. Even, firm seams without skipped stitches or broken threads are critical, as they directly determine the footwear’s durability and appearance.
- Lining reinforcement: Insert interlinings, stiffeners and foam fillers to boost comfort and upper fit for all-day wear.
- Decorative fittings: Sew or emboss eyelets, brand logos and hardware details to upgrade the visual appeal of basic shoe styles.
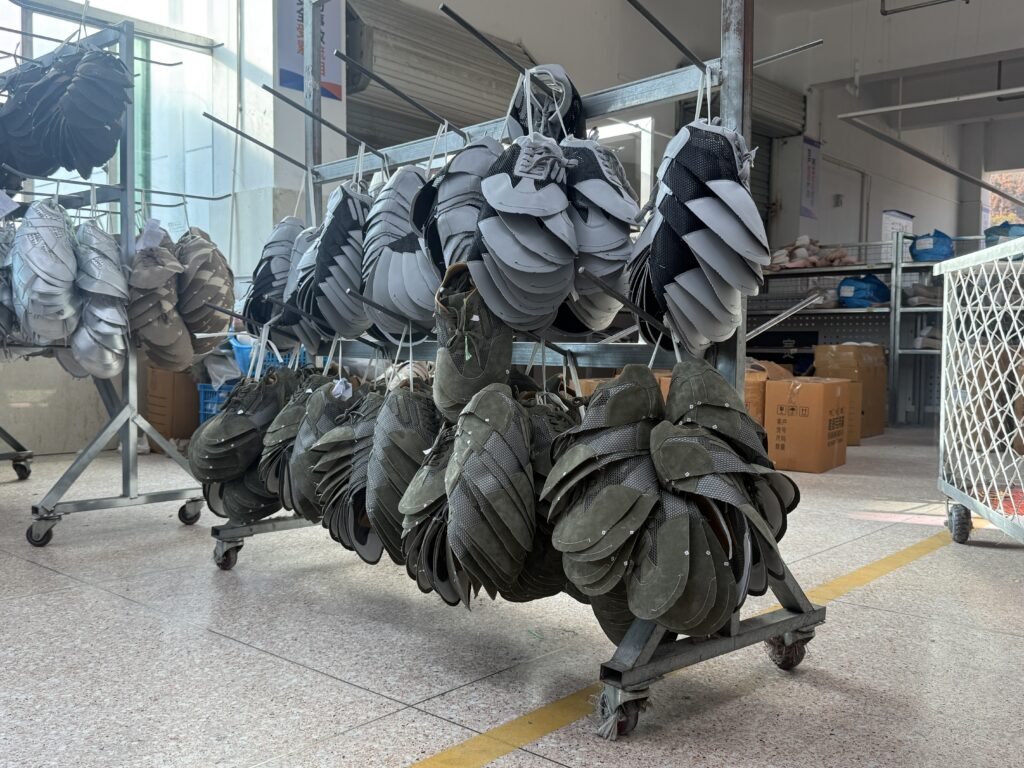
Stage 5: Lasting & Molding
Molding is a core shoemaking procedure where the shoe upper is stretched over a last to finalize the shoe’s silhouette and ergonomic fit. This step directly decides whether the shoe shape conforms to foot anatomy as well as the product’s overall structure and appearance.
The last acts as the molding foundation; its contour greatly impacts shoe styling and wearing comfort. A well-matched last can drastically improve the fit of finished footwear. You may refer to our guide “Last Measuring Standards” for detailed last measurement specifications.
The molding process generally consists of three phases:
5.1: Vamp Lasting
Vamp lasting means fitting the pre-assembled upper onto the last, stretching the material to smooth out the toe, waist and heel sections for a well-defined shoe shape. The detailed operations are as follows:
- Upper inspection: Trim loose threads and burrs, straighten the shaft and tongue edges, and check for skipped stitches, broken threads or material damage. This ensures a smooth, clean upper free of debris that would hinder gluing and bonding.
- Primer coating: White primer is applied as pre-treatment before primary bonding. It seals the material surface, reduces absorption and boosts the adhesion strength of main glue for a firmer, more stable bond between upper and outsole.
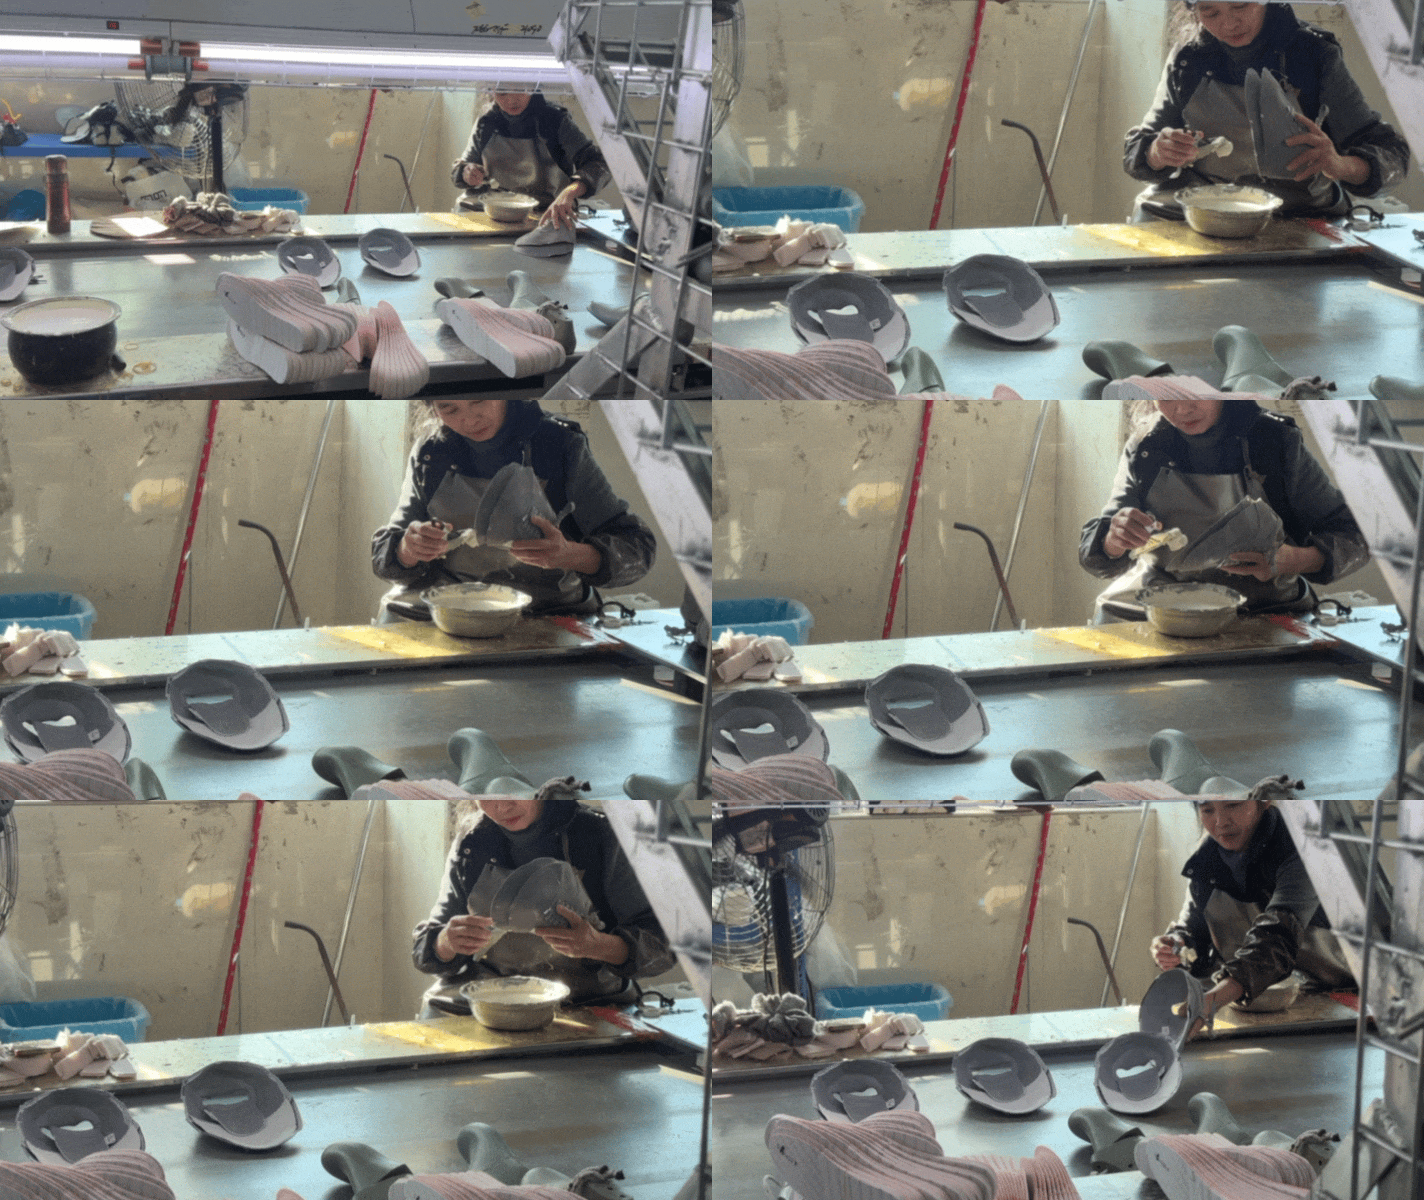
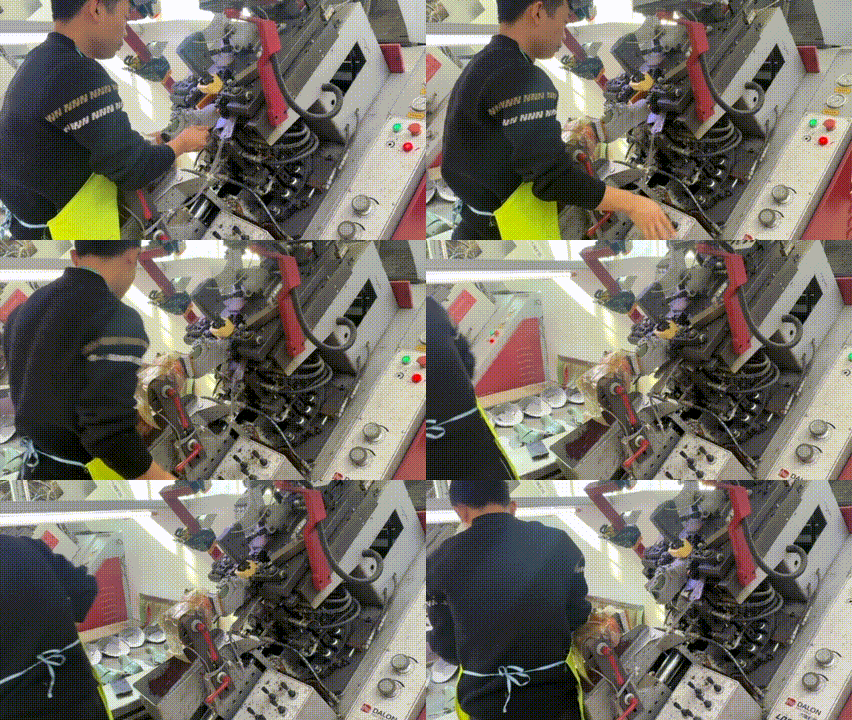
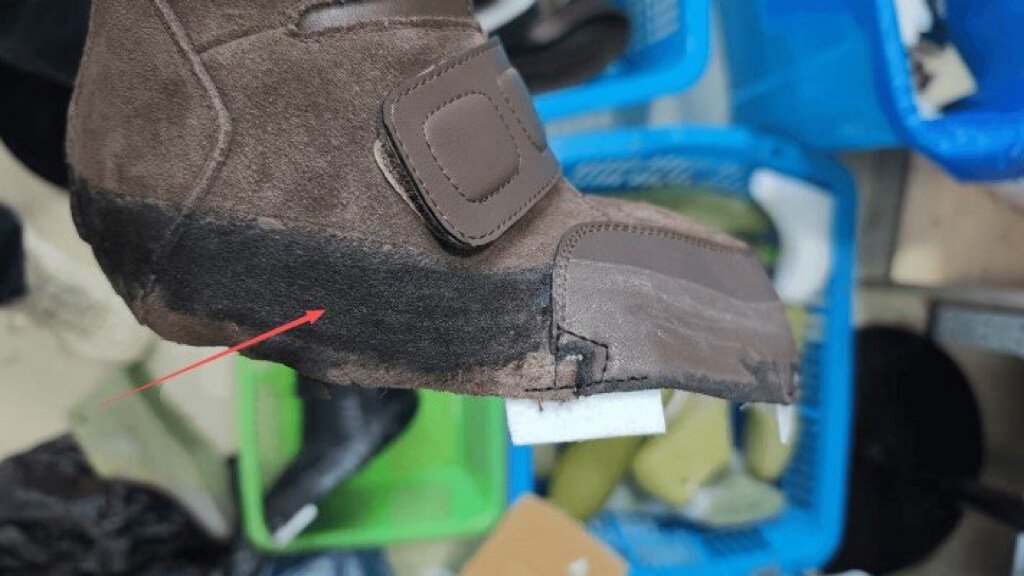
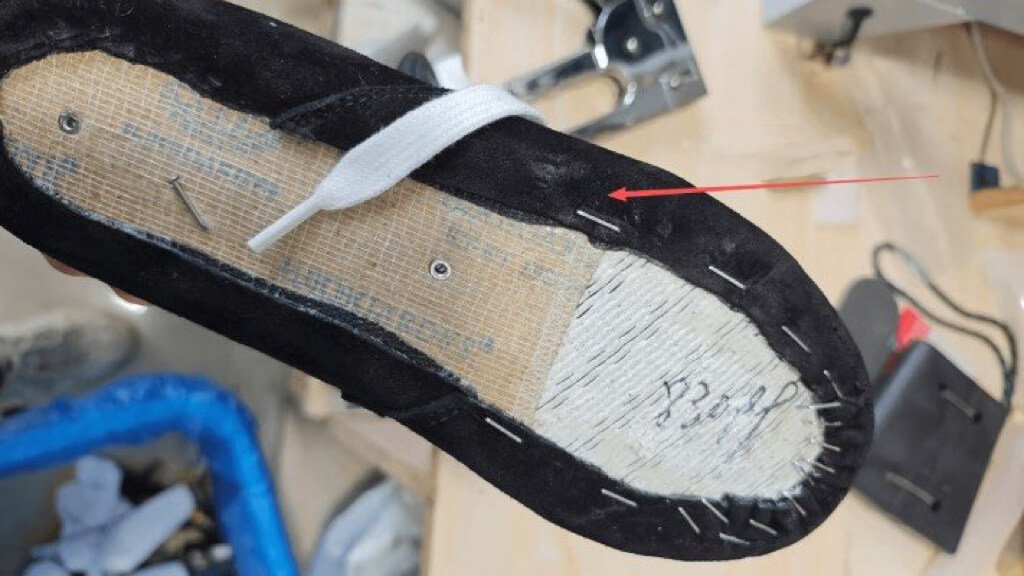
- Mechanical lasting: Hydraulic automatic lasting machines pull the toe section of the upper onto the split last. After lasting, hammer the toe, waist and heel firmly with wooden or rubber mallets to eliminate wrinkles, making the upper cling tightly to the last without hollow gaps. The upper edge must stay flat without curling, otherwise delamination may occur in subsequent bonding steps.
Also need to inspect the upper for asymmetry after lasting.
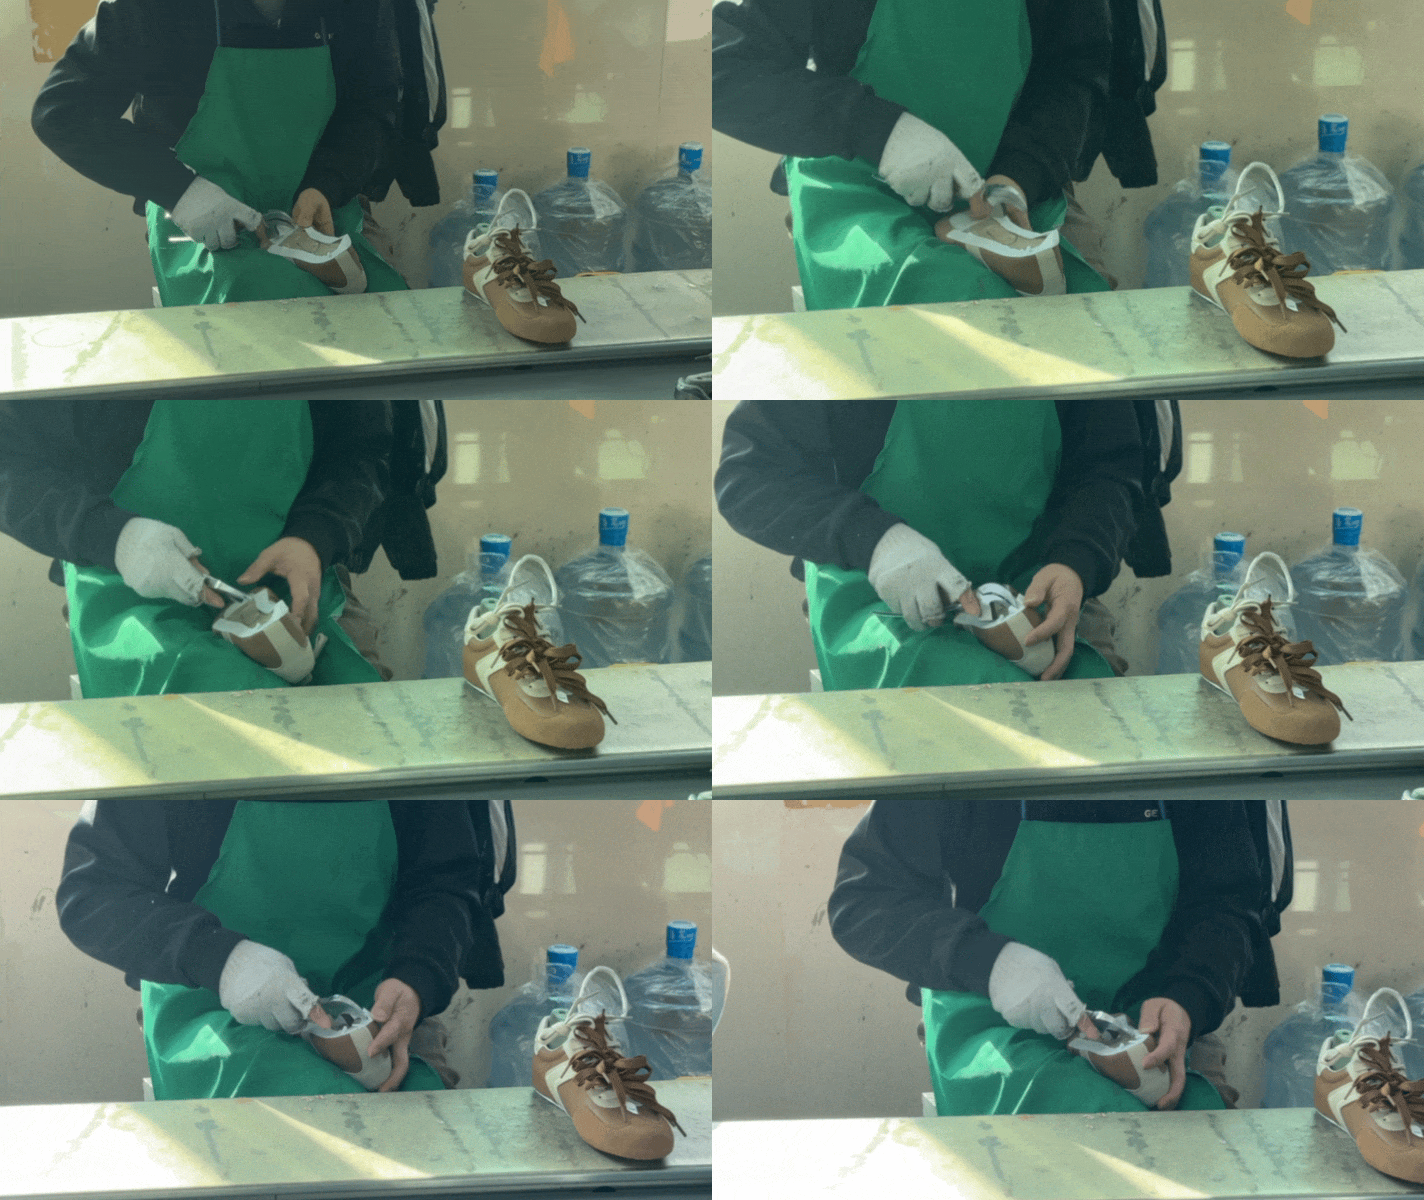
- Edge roughening: Roughen the lasting margin based on upper material. Smooth full-grain leather always requires roughening to increase surface friction for stronger bonding.
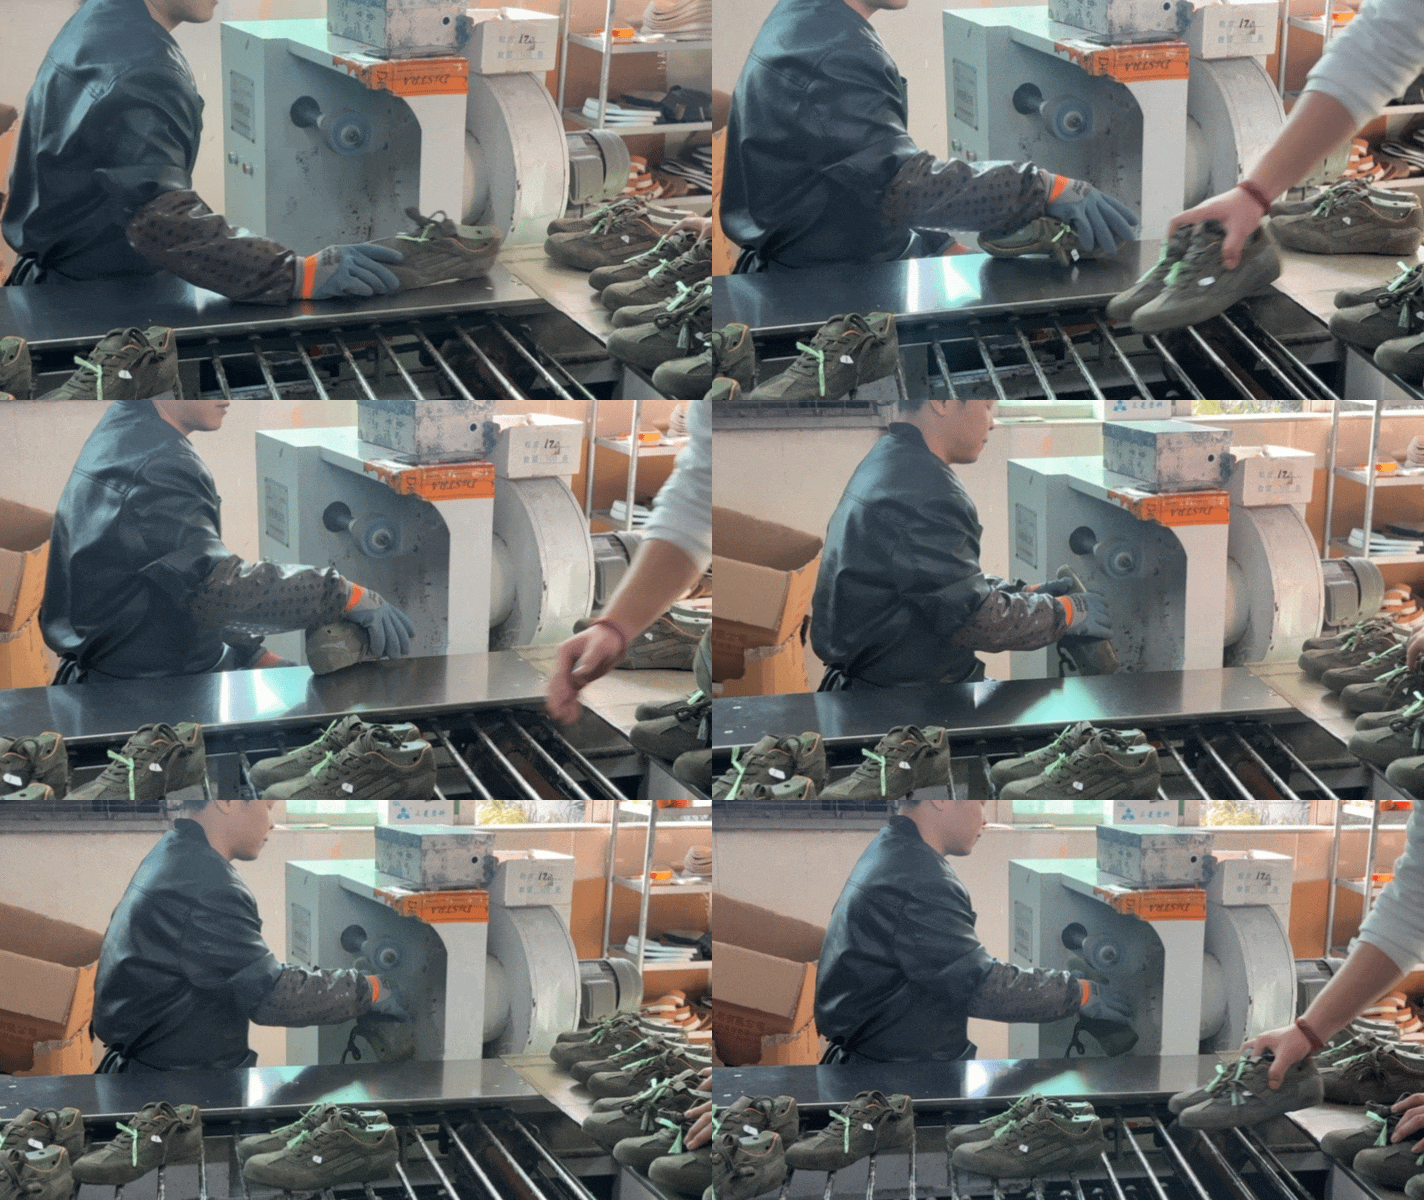
- Marking: Use marking machines, markers or pressing rollers to draw precise bonding reference lines along the upper allowance edge.
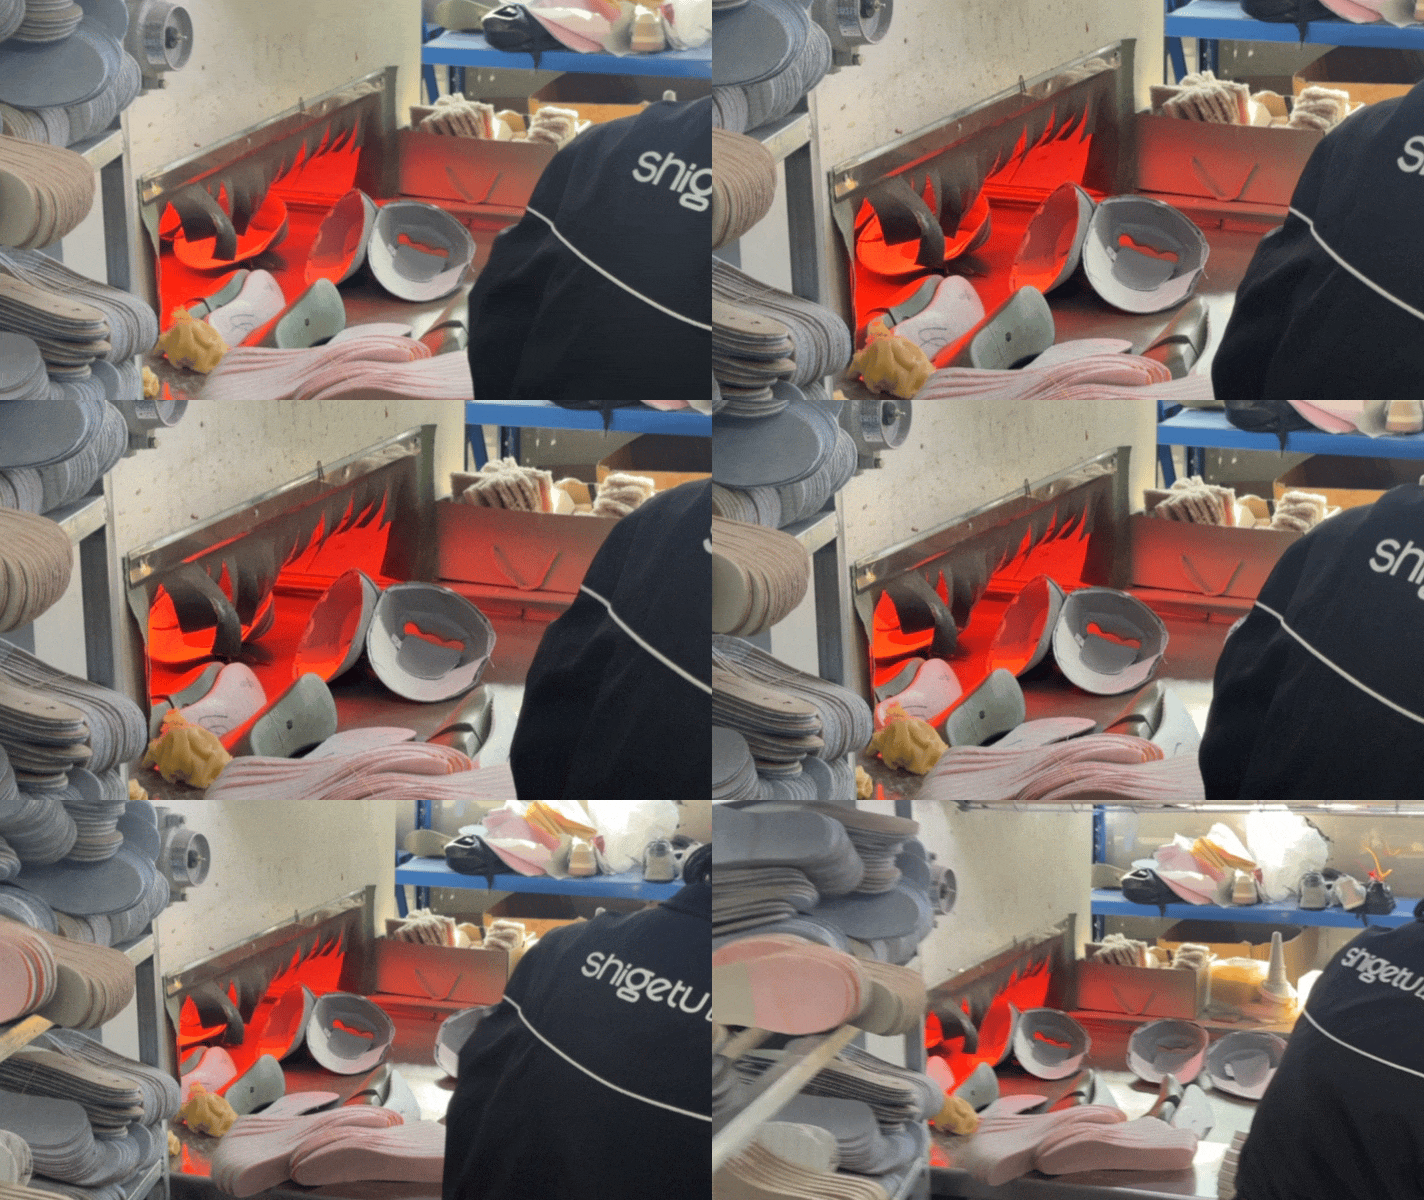
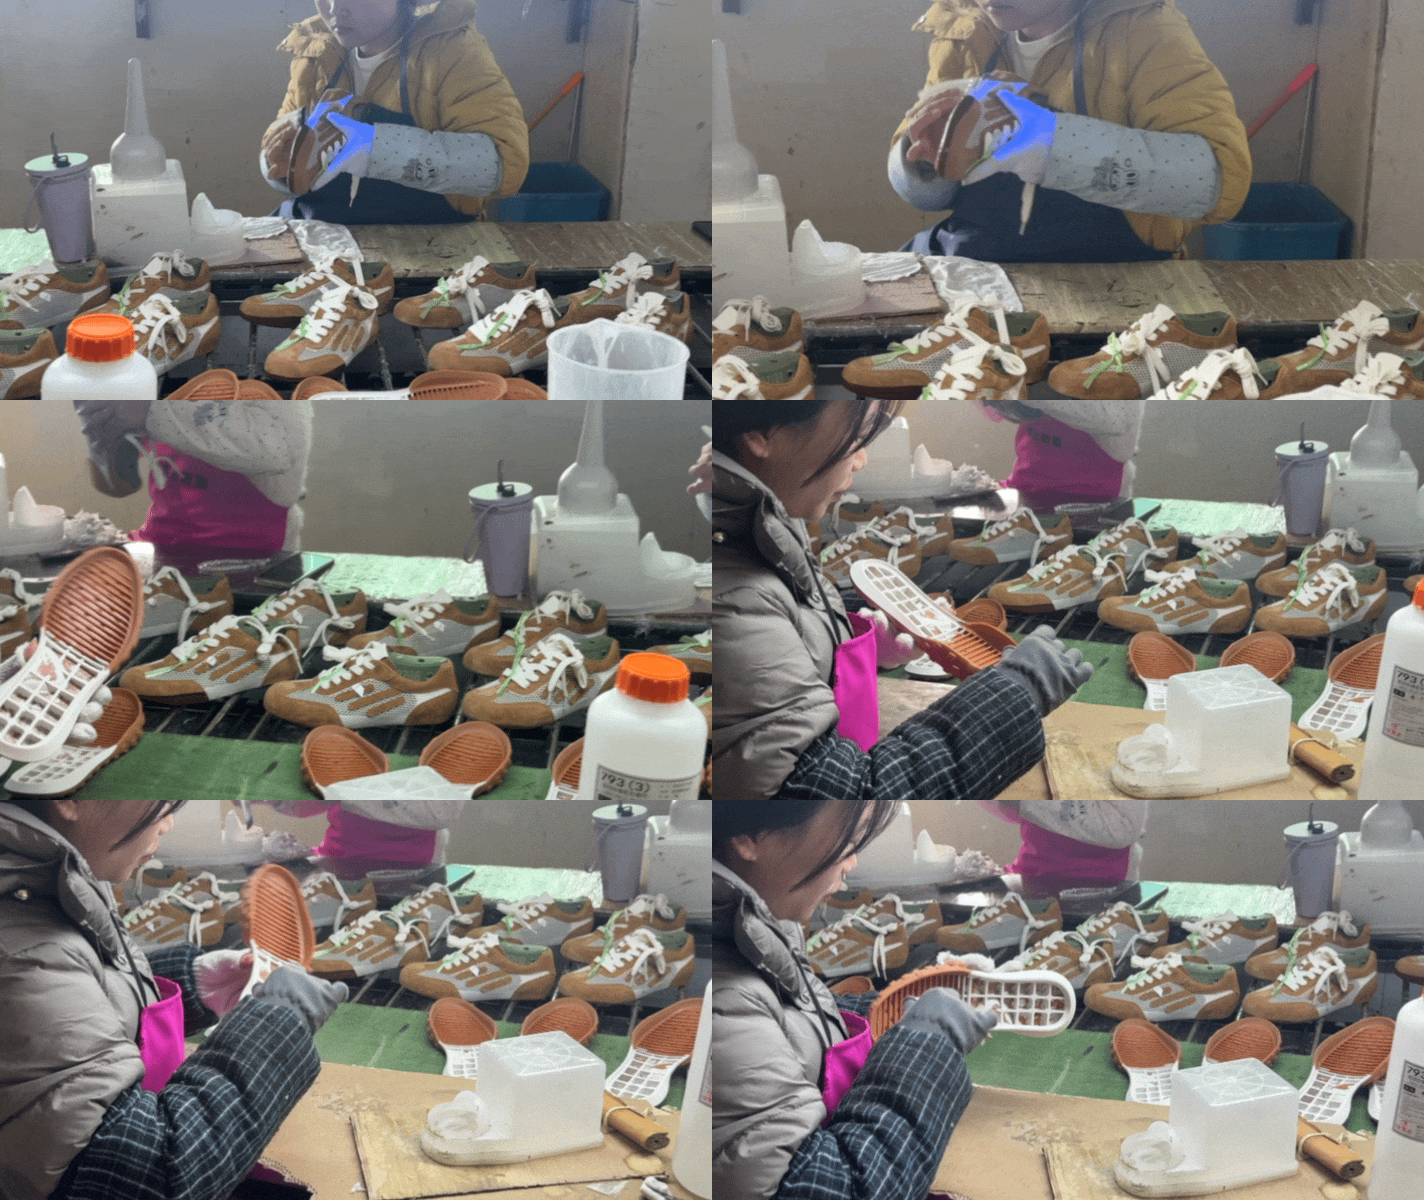
- Halogen activator & glue application: Apply matched halogenating agent according to upper and outsole materials, then send the parts to an oven at 60–70°C for 1–2 minutes to activate the agent and enhance glue adhesion.
Next, evenly spread a layer of PU glue along the pre-marked reference lines on both the upper allowance and the whole outsole, then bake at 70–80°C for 2–3 minutes for activation.
Note that genuine leather requires two rounds of glue application for optimal bonding performance.
5.2 Outsole Bonding
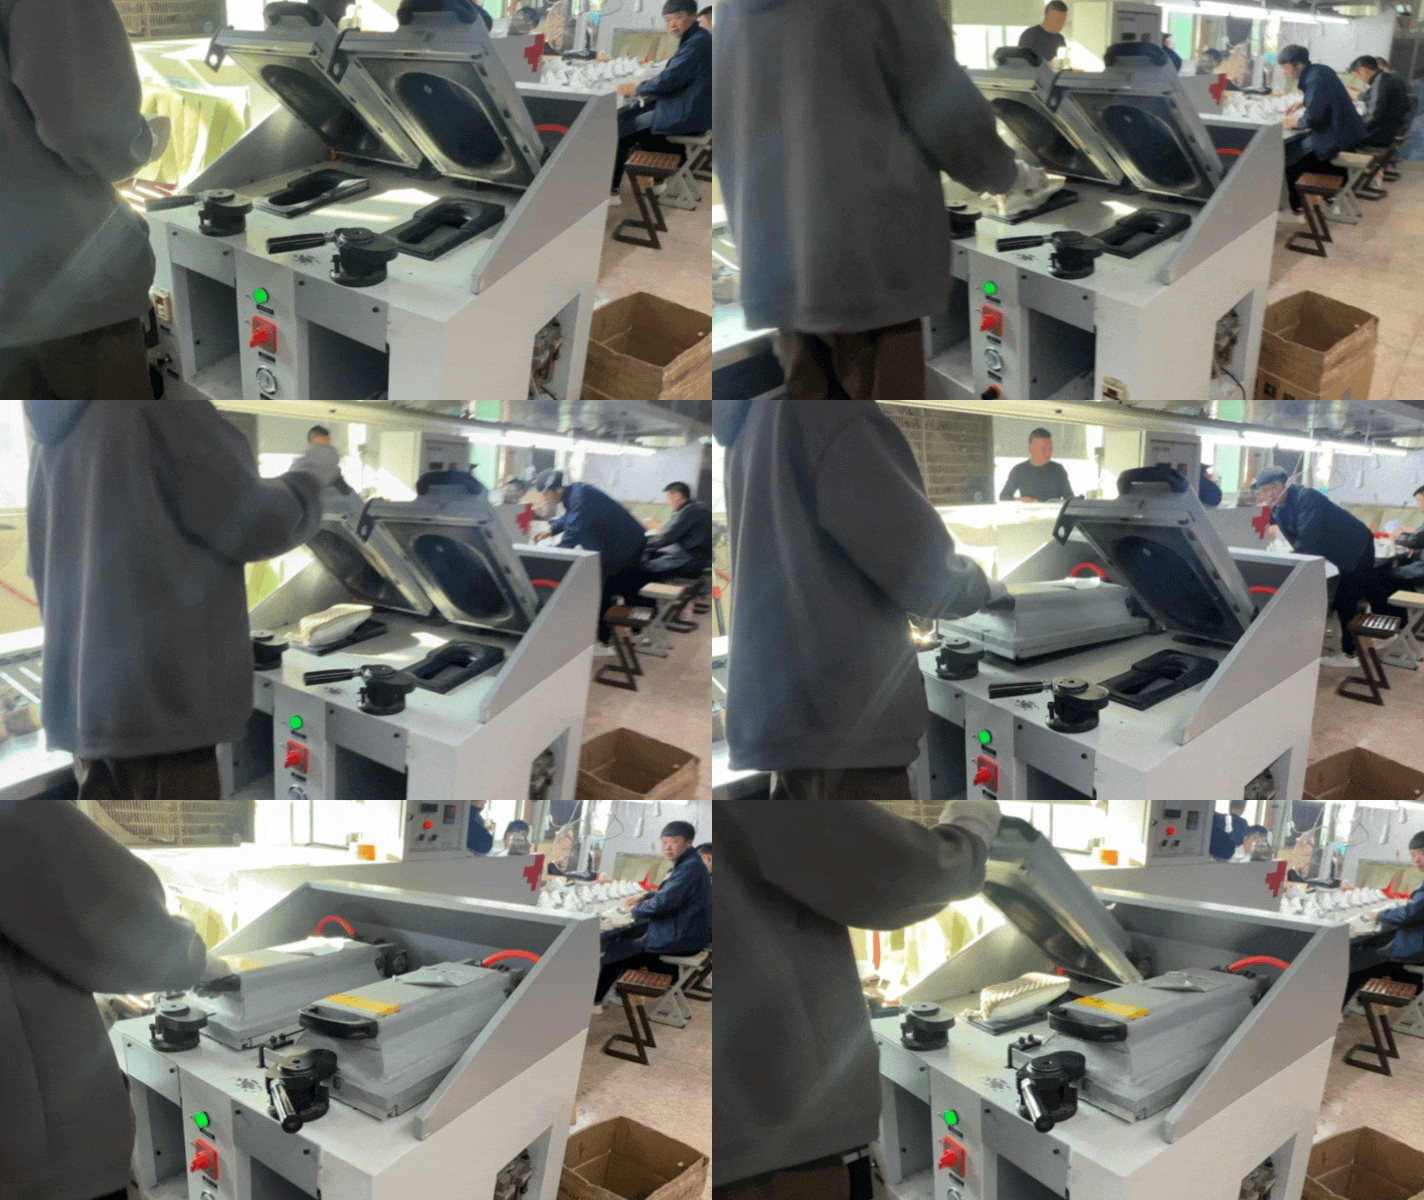
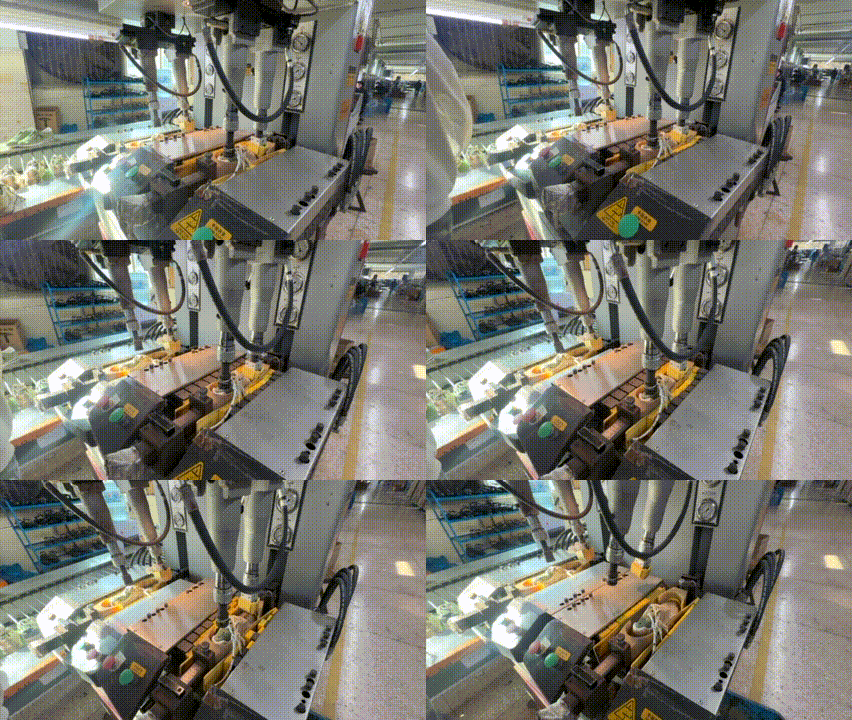
- Outsole attachment: Align the activated outsole precisely with the lasted upper, bond sequentially from toe to waist then heel while squeezing out trapped air. Light manual pressing and tapping eliminate bubbles and shifting.
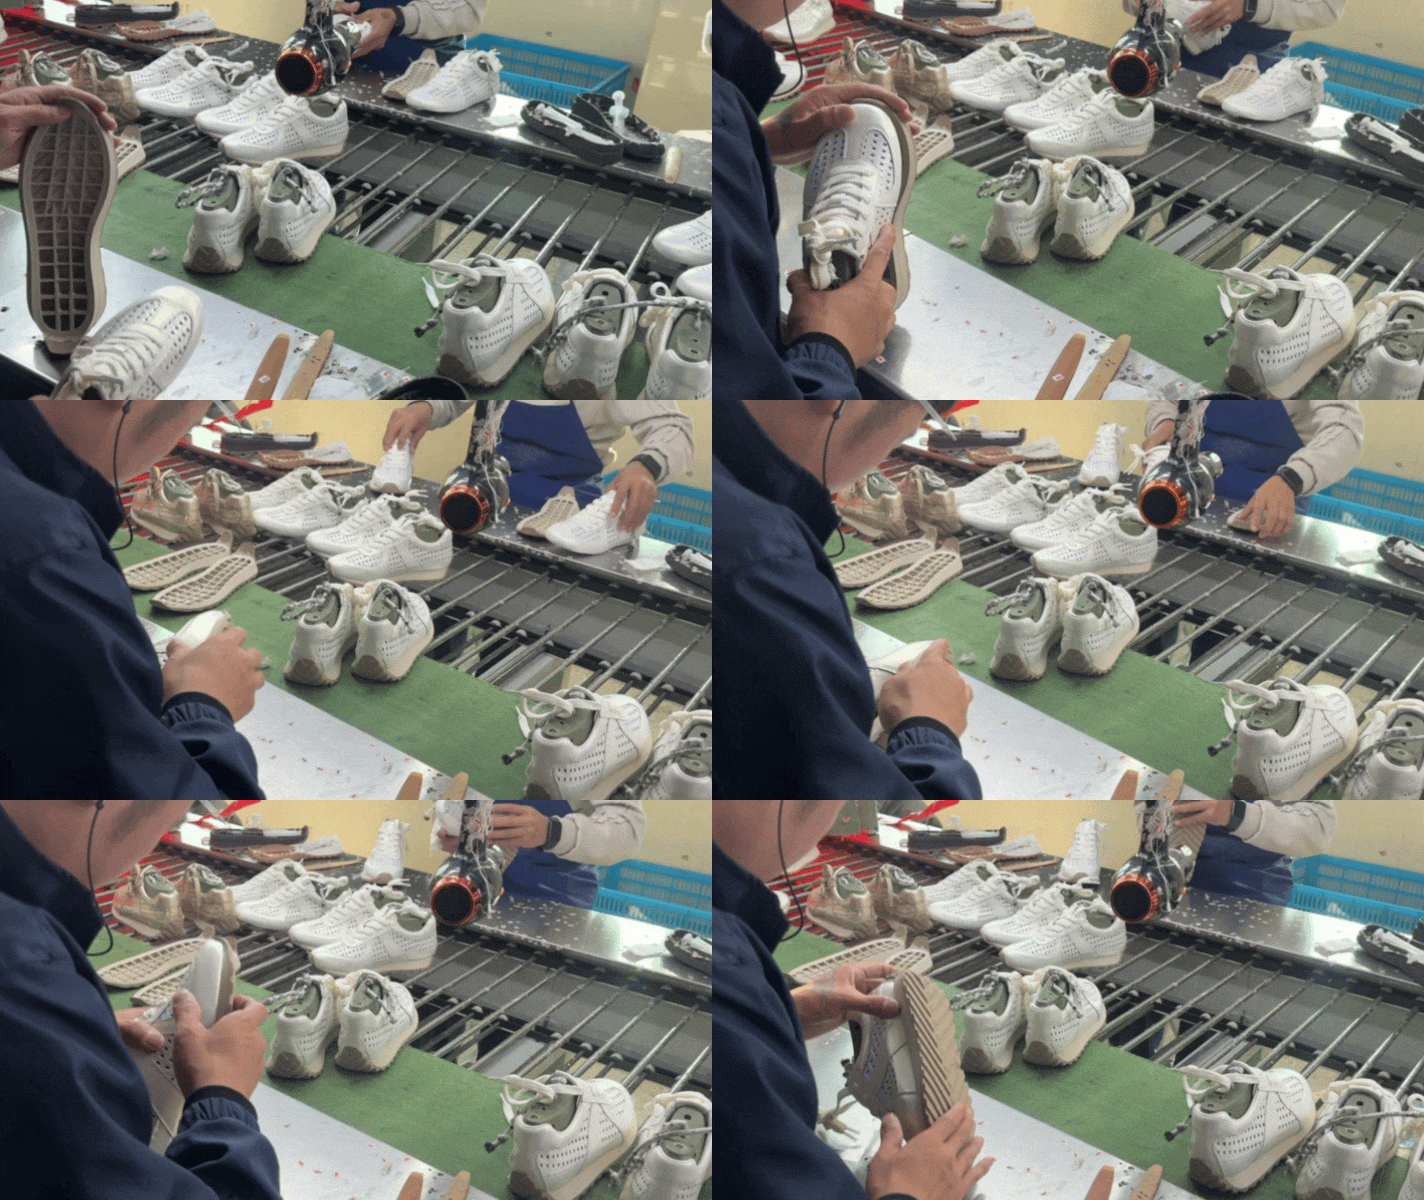
Right after bonding, apply hydraulic press treatment to fully fuse glue layers between upper and outsole for ultra-strong anti-peel adhesion.
- Last removal: Cool the shoes naturally or with air blowing for 3–5 minutes post oven processing to fully cure glue and stabilize shoe shape, avoiding deformation when stripping lasts.
Carefully take shoes off lasts to prevent upper damage or glue layer separation. Inspect edges for delamination and gaps; reapply PU glue locally and press tight if needed. Wipe excess glue from outsoles, trim surplus adhesive along upper edges and clear rough burrs.
5.3: Finishing Treatment
- Finishing refines footwear appearance to fix cosmetic defects and boost visual appeal, covering these key steps:
- Polishing: Enhance surface aesthetics and form a basic abrasion-resistant protective layer.
- Trimming & cleaning: Cut loose threads and remove burrs for a neat finished look.
- Branding: Print logos and decorative details to differentiate styles and lift brand recognition.
- Protective coating: Apply stain-repellent treatment to strengthen material durability for all wear scenarios.
Stage 6: Quality Inspection
Quality inspection ensures finished footwear meets client requirements. Every pair undergoes thorough visual checks and performance tests.
- Defect screening: Inspect stitching flaws, material imperfections and outsole bonding defects.
- Functional testing: Verify footwear flexibility, wearing comfort and durability to guarantee reliable performance under intended usage conditions.
- Size verification: Confirm standard size grading and shoe silhouette consistency to lower customer return risks in advance.
- Pair symmetry check: Match the overall appearance and color of left and right shoes to comply with client standards.
Stage 7: Packaging & Shipment
Exquisite packaging boosts product appeal at first sight and stimulates purchase intention, while reflecting the brand’s attention to details.
- Protective packaging: Sturdy boxes with eco-friendly inserts retain the original shoe shape, and elevate your brand image and product value.
- Labelling: Clear marks including size, item number, brand information and other details help buyers quickly locate their desired styles.
- Shipment: Sea, air and land transport options are available. We monitor delivery schedules and cargo conditions to ensure your footwear hits the market on time.
Shoemaking is an elaborate workflow that turns every fashion concept into tangible finished goods. All stages interconnect to balance stylish appearance and practical wearing performance. A full grasp of the production process allows manufacturers and business partners to clearly identify the sources of shoe quality, as well as key factors affecting durability and comfort.
There is no universal fixed shoemaking workflow; techniques are continuously optimized and adjusted according to shoe styles, raw materials and market demands. This guide only outlines the typical cement construction production process, aiming to help you grasp the core logic and key shoemaking steps.
If you plan to expand your product line or optimize your shoe collection, reach out to YOUTU SHOES. We provide full OEM & ODM solutions fully customized to your business demands.