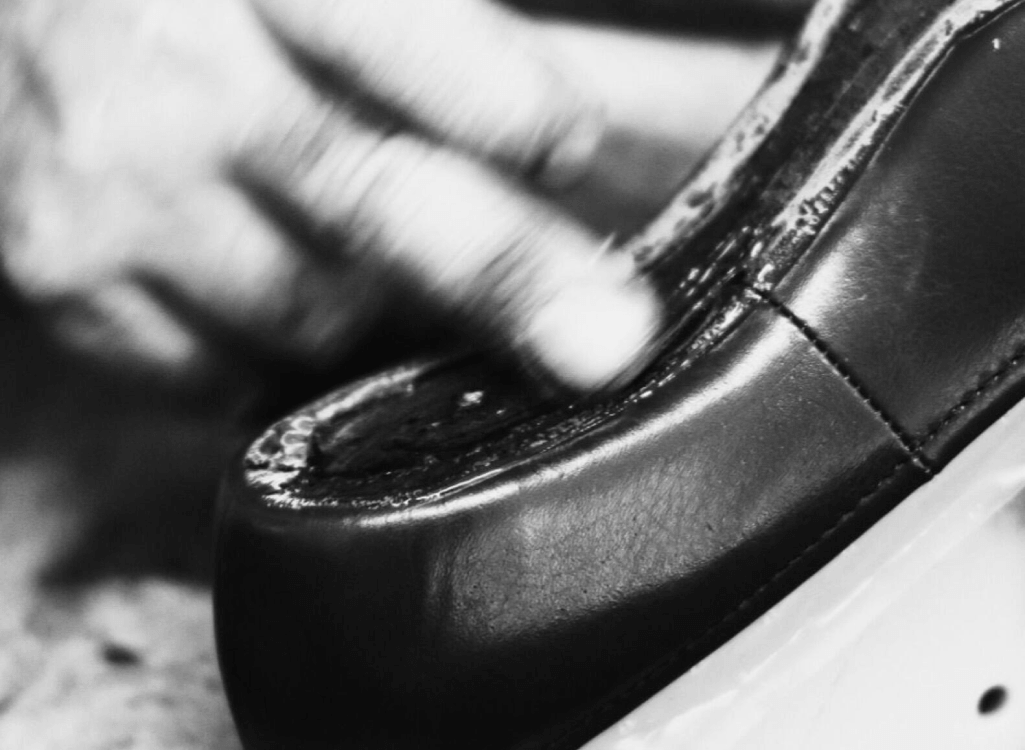



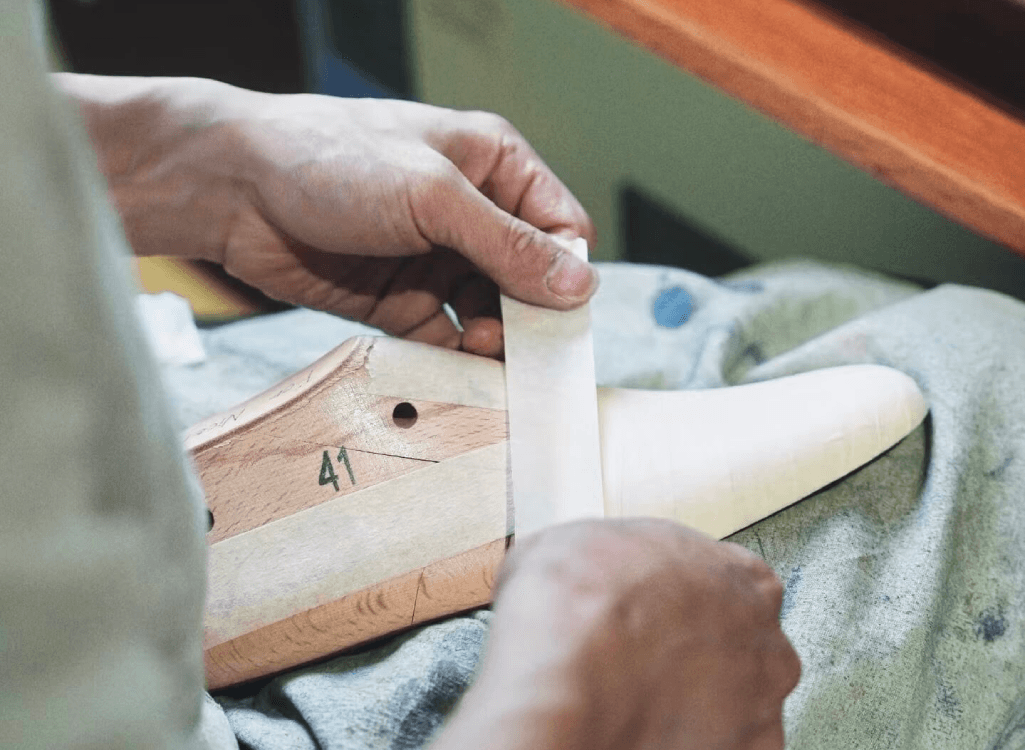
Many footwear brands treat sampling as a simple back‑and‑forth process: send feedback, get an updated prototype, repeat until the shoe “looks right”. What most teams miss is that every revision carries layered costs that rarely show up directly on sample invoices. Late adjustments can trigger new tooling, minimum material orders, shifted delivery windows and compounded technical risk. For emerging and established global footwear labels, poor revision discipline quietly shrinks margins, pushes launch dates and creates gaps between approved samples and final bulk output.
This article breaks down practical, real‑world workflows used across Asia‑based footwear manufacturing facilities, to help brands control footwear sampling cost and turn this process from endless subjective tweaking into risk‑reducing product validation.
The Hidden Costs Brands Miss in Shoe Sampling
Most brands only track direct sample fees paid to factories. But revision cost goes far beyond that single line item. A requested change may require re‑cutting patterns, reworking shoe lasts, sourcing new material batches, arranging additional sample shipping, and extra technical review hours. When feedback arrives scattered over email threads from marketing, design and leadership, factories can receive conflicting instructions that produce yet another flawed prototype.
One common trap: treating all changes as equal work. A logo position tweak is not the same as re‑engineering heel structure or modifying outsole molds. A small visual edit can accidentally become a structural fix. Changing toe shape after the outsole has been locked forces the factory to re‑test component compatibility, adding labor and lead time that brands rarely budget for. Industry sourcing reports note that unplanned revision loops can push total development spend 30‑60% higher than initial projections, even before mass production begins.
Build a Production‑Ready Brief Beyond Just a Mood Board
A mood board communicates aesthetic inspiration, but it cannot guide factory technical decisions. Many failed sampling cycles start when brands submit only reference images without defining functional and commercial boundaries upfront.
A solid development brief should answer core practical questions before cutting the first prototype: target end‑user use case, intended market, size range, estimated order volume, target retail price, and non‑negotiable product requirements. It should also mark which parts of the design are open to engineering suggestions.
For example, writing “soft casual loafer” leaves open questions about insole support, outsole flexibility, weight limits and fit targets.
Rewriting it as “low‑profile loafer for daily city wear, EU sizes 36‑41, durable flexible sole, defined forefoot fit target” gives technical teams clear boundaries to work within.
Crucially, complete commercial checks belong in this early phase. If your target order size cannot absorb custom outsole mold expenses, identify this conflict before you invest time refining samples built for that expensive tooling. Validating commercial feasibility first reduces wasted development cycles.
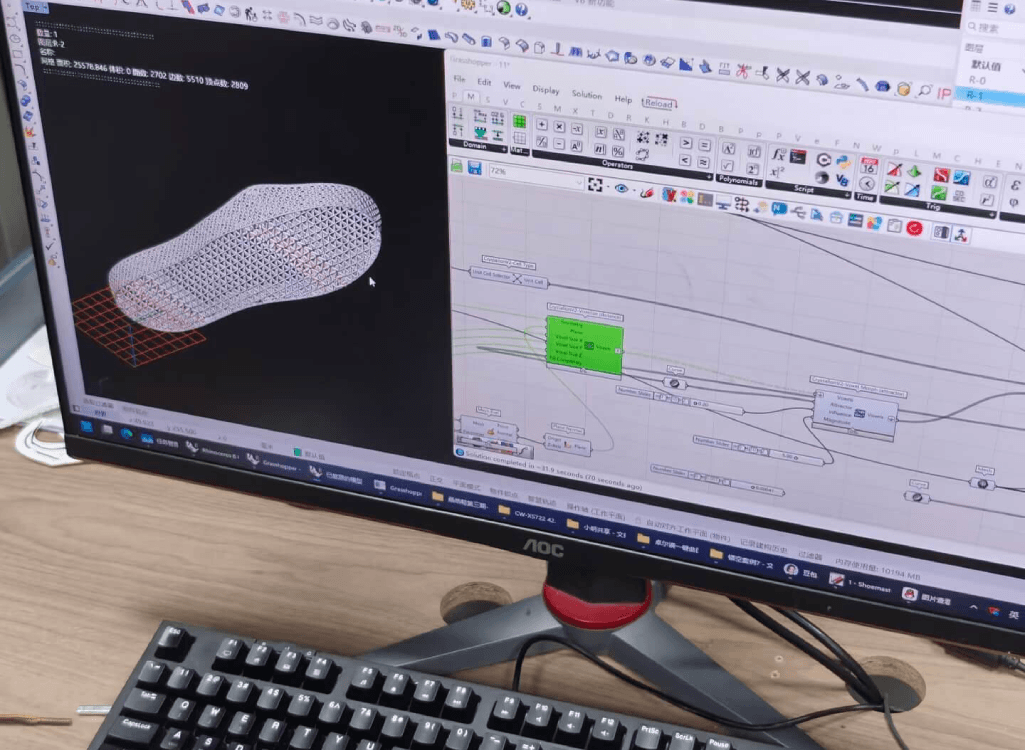
Classify Revisions: Separate Visual, Fit and Structural Adjustments
Not every change needs the same approval workflow, and mixing change categories creates costly mistakes. We can group all sample feedback into three clear buckets, widely used by footwear technical teams globally:
- Visual changes: Customer‑facing aesthetic updates including panel lines, decorative stitching, logo placement, surface finish and color. Design teams can sign off these adjustments, provided material performance stays unchanged.
- Fit changes: Modifications to how the shoe interacts with human feet. This covers last internal volume, instep allowance, heel hold, toe‑box shape and size grading. Fit feedback needs input from trained fit testers, not only visual reviewers. Research on millions of global foot scans confirms that last adjustments alter how footwear performs across full size runs, not just one sample size.
- Structural changes: Adjustments that modify construction methods or product performance: heel counter stiffness, sole attachment systems, reinforcement placement, and base material thickness. These adjustments often invalidate previous approvals for outsoles, patterns or tooling.
This classification brings two big practical wins. First, you assign the correct stakeholder for each decision. Second, you spot when one change breaks previously approved work. For instance, updating a shoe last for better fit can require re‑checking upper‑to‑outsole compatibility, while adjusting print color will usually not impact core construction.
When testers report a boot is hard to slip on, avoid jumping straight to widening the ankle opening. Diagnose root causes first: it could come from lining friction, closure design, or mismatched last‑pattern geometry. Picking quick‑looking fixes without technical diagnosis often spawns more useless sample rounds.
Run a Decision‑Driven Revision Log, Not Chaotic Email Threads
Scattered emails, chat screenshots and random comment notes create unreliable sample history. Every prototype needs a clear version number, production date, model code, reference last number, core material specs and change summary compared to the prior iteration. Capture comparison photos under consistent lighting and angles, so reviewers judge actual construction instead of camera or light distortion.
Write actionable feedback instead of vague requests. “Improve heel comfort” gives factories no clear task. “Reduce walking heel slip without altering collar line; test heel counter stiffness and last volume before re‑cutting patterns” creates measurable work scope. Whenever a change impacts unit cost or lead‑time, document those consequences before giving final approval for modification.
Assign one single internal owner to consolidate all brand feedback before sending updates to your manufacturing partner. When merchandising, designers and founders send separate conflicting requests, factories cannot deliver predictable results. One unified revision sheet prevents misinterpretation and wasted sample builds.
Match Your Sample Type to Your Testing Goal
Brands frequently try to answer every question with one single prototype, thinking it saves time and budget. In reality, this habit slows down final sign‑off. Different sample formats serve distinct validation purposes:
- Concept prototype: Tests silhouette and construction direction, may use substitute materials. Do not use it to approve final material hand‑feel or finishing quality.
- Fit sample: Focuses on dimension, gait behaviour and wear comfort, requires real last and correct pattern grading.
- Component / material sample: Validates color, texture, bonding performance and material durability separate from full shoe assembly.
- Pre‑production approval sample: Acts as the official reference for bulk manufacturing, built with confirmed bulk‑order materials and tooling.
A visually impressive photo sample cannot validate size‑run consistency. You need dedicated size‑set samples to check grading performance across your full size range before mass production starts.
Create Fit Testing Protocols to Collect Useful Feedback
Comments like “this shoe runs small” carry almost no actionable value without context. Set clear test conditions before you assess fit samples: document sample size, tester foot measurements, sock type, activity during wear test, and testing duration. Record pressure zones, heel movement, forefoot space and fit shifts after movement.
Different footwear categories demand different fit focus areas. Heeled styles need pitch and balance evaluation. Sneakers require flex and internal support checks. Boots test entry ease and shaft geometry. Avoid copying checklists from unrelated shoe categories. Build your test procedure around your actual target consumer, as foot biomechanics change during walking and weight‑bearing activity.
Once fit direction gets locked, any last or grading adjustments must be reviewed for downstream risks. A bad base‑sample grade can copy fit defects across every size in your collection. Approving size sets counts as a production‑critical decision, not cosmetic fine‑tuning.
Cost Based On Approved Build, Not Outdated Prototypes
Footwear price quotations are only meaningful when tied to a fixed bill‑of‑materials and manufacturing workflow. If you switch lining fabric or move to custom tooling after initial quoting, your original cost estimate becomes invalid. Always ask manufacturers to link pricing to specific sample version numbers, and document assumptions for material minimum order quantities, tooling charges and order SKU breakdowns.
Even a decent‑looking total order quantity can hide risks. If you split 400 total pairs across many colors and sizes, some material lots may fall below supplier minimums. This forces higher per‑pair costs, leftover stock or forced reduction of launch colorways. Smart cost engineering protects brand‑defining features while simplifying invisible components customers never notice. Ask: “Which construction choices add real customer value?” instead of only asking “can you make this cheaper?”
Build a Complete Sample‑to‑Bulk Handoff Package
Verbal approval of a physical shoe sample cannot guarantee repeatable mass‑manufacturing results. Before bulk production release, both brand and factory need a formal handoff package. It includes sealed reference sample, final last and grading tables, pattern files, construction specifications, BOM with allowed material substitutions, branding placement rules, color standards, packaging requirements and agreed quality acceptance criteria.
Add visual reference photos for stitch alignment, edge finishing and logo embossing, plus measurable tolerance rules and required test standards for your target market. Remember to separate sample sign‑off from purchase‑order confirmation. Sample approval locks product specifications; PO approval confirms order quantities, commercial terms and delivery timelines. Any changes made between these two steps need full visibility for both sides to avoid surprises on the production line.
When Should Your Brand Stop Revising Samples?
Samples do not need to satisfy every subjective preference. They only need to meet your pre‑agreed product requirements. It is time to freeze revisions once critical fit and performance risks are solved, visual output matches approved references, components can be sourced at target volumes, and manufacturing supports your target price and launch timeline.
Non‑essential design tweaks that bring no clear customer benefit should be saved for future collection iterations, rather than reopening a finished development cycle. Version control is not creativity restriction. It is the practical system that lets creative designs survive real‑world manufacturing constraints.